Mirror guide
How to Remove Scratches From a Mirror
 By Joan Bardot · Updated 2 sources cited
As an Amazon Associate I earn from qualifying purchases. How I choose products.
On this page
Knowing how to remove scratches from a mirror starts with knowing what you're looking at. A mirror is a sheet of glass with a reflective layer and paint on the back, so a line can be in three places: on the front of the glass, in the glass itself, or in the backing behind it. Each needs a different answer, and only some can be fixed.
Below I go through how to diagnose a mark, the gentle methods glass makers allow, when cerium oxide polishing is worth trying, why toothpaste and baking soda are poor ideas on a mirror, and what to do about scratches in the backing or on acrylic mirrors. If the mirror is badly damaged, my picks for the best bathroom wall mirrors are the faster fix.
Step One: What Kind of Scratch Is It?
| What you see | Fingernail test | Where it is | What to do |
|---|---|---|---|
| Fine haze or streak that changes when you clean | Nothing to feel | Residue on the surface | Clean properly; it isn't a scratch |
| Hairline mark you can see but not feel | Nail glides over | Light scratch in the glass | Gentle polishing may reduce it |
| Mark your nail catches in | Nail catches | Deep scratch in the glass | Leave, hide or replace |
| Clear or dark line you can see light through from the back | Front feels smooth | Scratch in the backing and silver | Seal, cover or replace; polishing won't help |
| Dark spots or edges, front smooth | Nothing to feel | Desilvering, not a scratch | See the desilvering guide |
The Fingernail Test
Clean and dry the area, then draw a fingernail lightly across the line. If it slides over, the scratch is shallow. If it catches, there is a groove deep enough that removing it would mean removing a lot of glass around it, which is where home polishing goes wrong.
Front or Back?
Look at the line from an angle with a flashlight. A scratch on the front shows on the surface of the glass. A scratch through the reflective layer on the back often lets light through as a clear line, and the front feels perfectly smooth. Dark patches spreading from the edge are a different problem altogether, explained in my guide to mirror desilvering.
Start With the Gentle Methods Glass Makers Allow
The National Glass Association's mirror care bulletin, FB06-05, sets out what mirror manufacturers recommend, and it is stricter than most online tips. It says "no abrasive cleaners should ever be used on any mirror surface", that acid, alkali and solvent cleaners can damage the edges and backing, and that the safest cleaner is warm water with a soft, lint-free cloth.
Clean Before You Judge
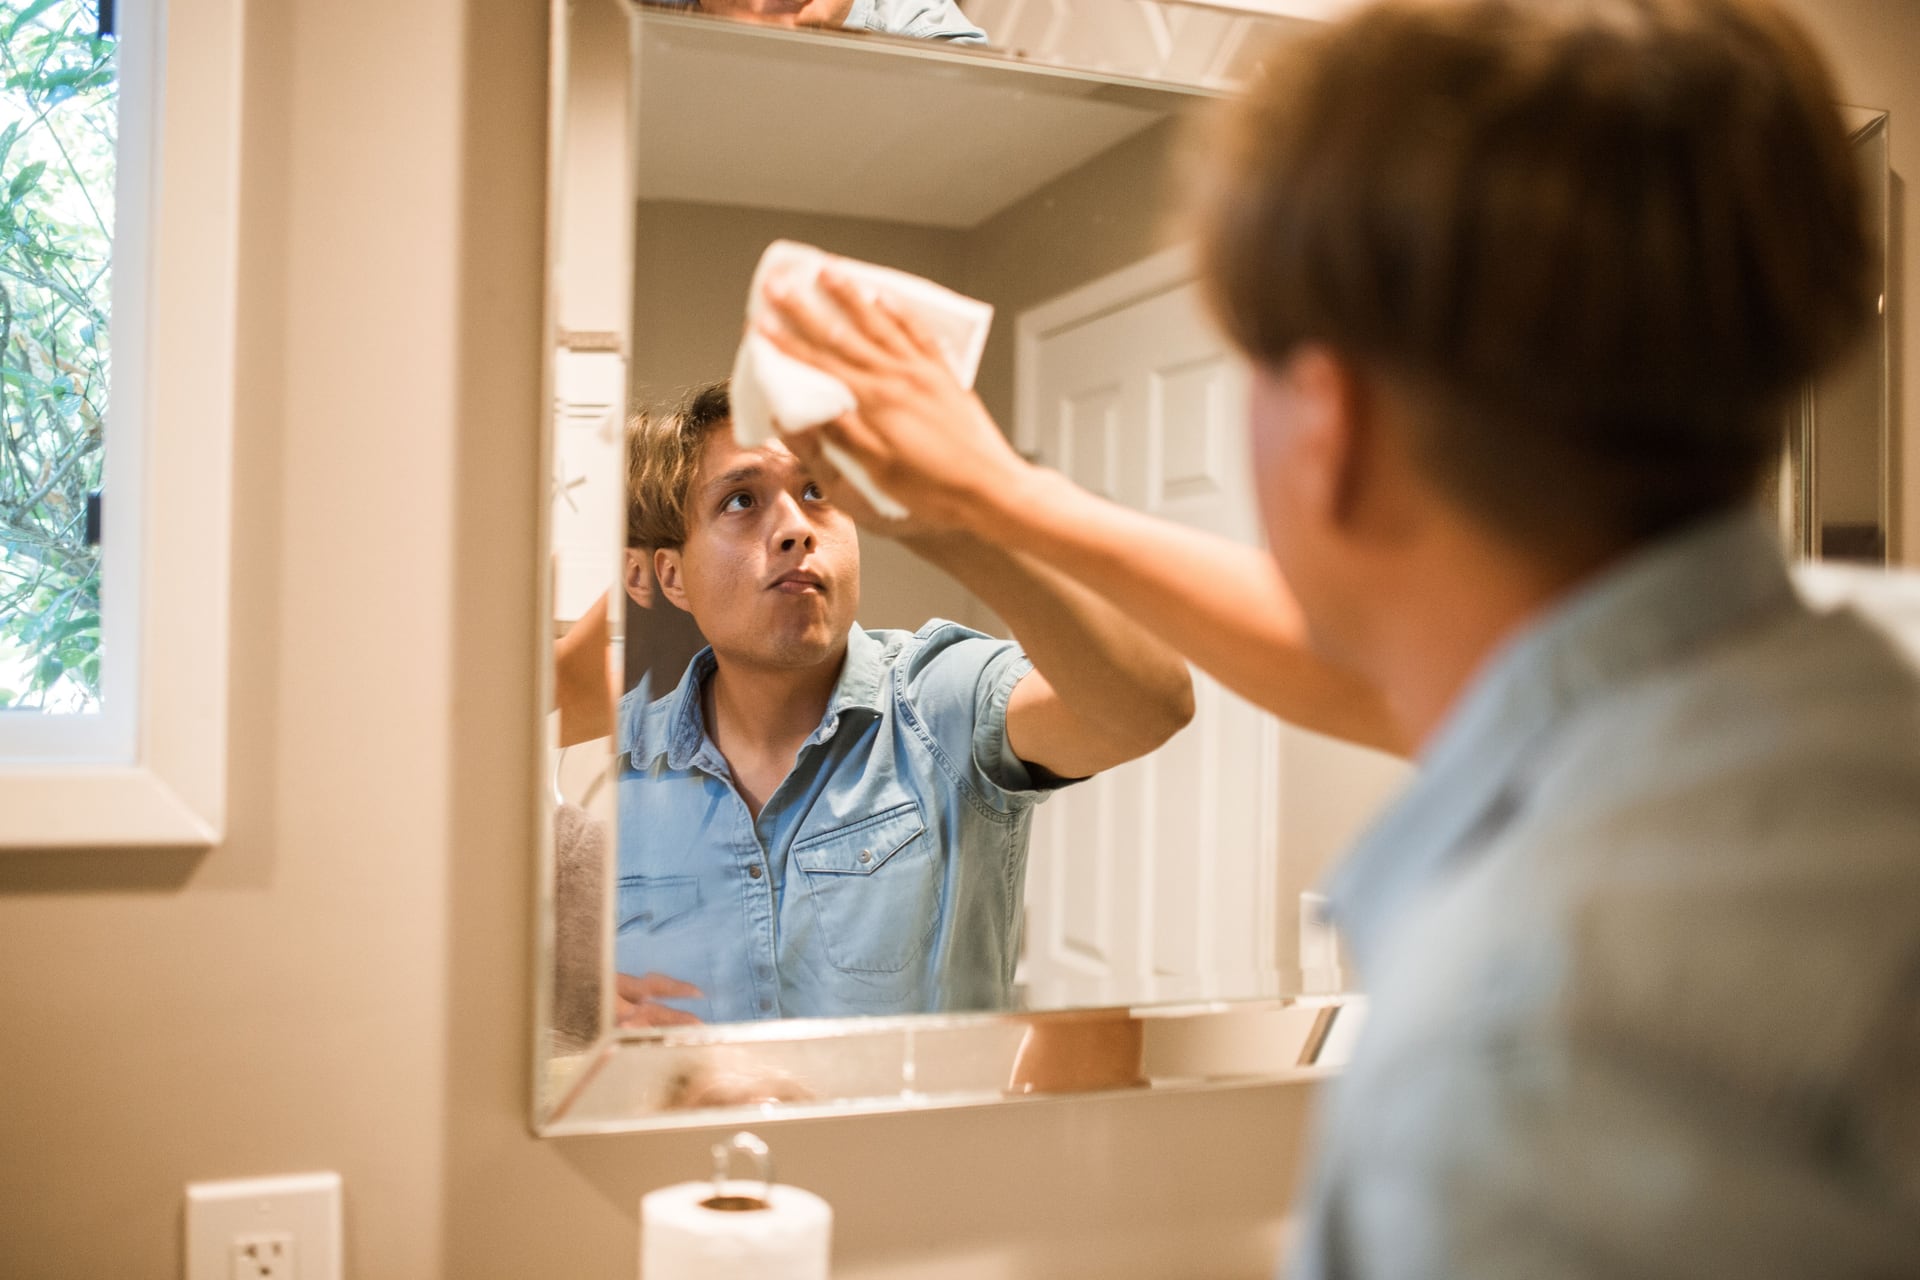
Clean the mirror with warm water on a well-wrung microfiber cloth, applying any glass cleaner to the cloth rather than the mirror, and buff dry. Plenty of "scratches" are cleaner streaks, soap film or hairspray that disappear at this stage. My guide to cleaning a mirror without streaks has the full routine.
Stubborn Surface Marks: 0000 Steel Wool
For marks stuck to the surface, the NGA recommends 0000 oil-free steel wool rather than solvents. That is the finest grade, for lifting deposits such as paint specks or hard-water spots from the surface of the glass, not for grinding out scratches. Use it gently on the face only, keep it away from the edges, and stop if you see any change in the glass.
Polishing Out Light Scratches With Cerium Oxide
For a light scratch that your nail doesn't catch, the method glass workers use is polishing with cerium oxide. Wikipedia's article on cerium(IV) oxide describes it as highly valued in the optics industry for its polishing ability, working through a mix of mechanical abrasion and chemical action on the glass surface. It is the same compound sold in glass scratch-repair kits.
Know the Risk Before You Start
Polishing works by removing glass around the scratch until the surface is level. On a window that is usually invisible. On a mirror, the reflection magnifies any dip, so a polished patch can show as a wavy, distorted spot. That is why I'd only try it on light scratches, over a small area, and stop as soon as the mark fades. The NGA's advice against abrasives on mirrors is a reminder that this is a calculated risk, not routine care.
Polishing a light scratch
-
Clean and mask
Clean the area, dry it, and mask a small square around the scratch with painter's tape so you can see where you've worked. Keep tape and water away from the mirror's edges.
-
Mix the polish
Mix cerium oxide powder with water to a thin paste, following the product's directions.
-
Polish by hand or with a felt pad
Work the paste over the scratch with a felt pad, by hand or on a drill at low speed, moving in overlapping circles across the whole masked square rather than just the line. Keep the paste wet; glass gets hot quickly when dry-polished.
-
Check often
Every minute or so, wipe the area clean and look at the reflection from an angle. Stop as soon as the scratch fades, or at the first sign of waviness in the reflection.
-
Clean up
Rinse away all the paste with a damp cloth, dry the glass and the edges, and buff with a clean microfiber cloth.
What You Need
Supplies for cleaning first and, for light scratches only, cerium oxide polishing.
-
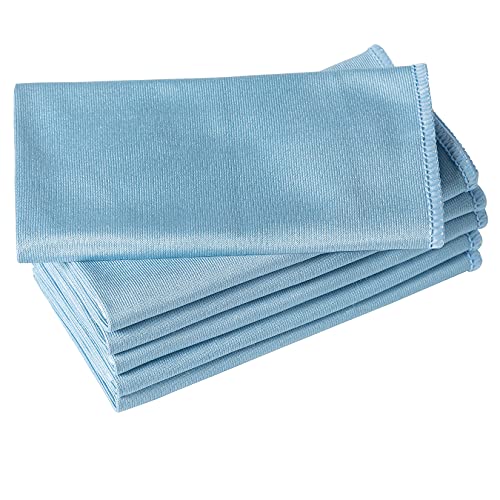
1Microfiber cloths
Puomue Microfiber Glass Cleaning Cloths, 6 Pack
Lint-free cloths for the warm-water clean that tells you whether a mark is really a scratch.
-
2Cerium oxide
Cerium Oxide Glass Polishing Powder, 14 oz
Glass polishing powder to mix with water into a paste, for light scratches only.
-
3Polishing kit
Kakalote Glass Polishing Kit with Felt Wheels
A kit with felt polishing wheels for a drill and cerium oxide powder, if you'd rather polish at low speed than by hand.


Why Toothpaste, Baking Soda and WD-40 Are Poor Fixes
Toothpaste and Baking Soda
Both work, when they work at all, as mild abrasives: they wear the surface down a little. That is the same thing cerium oxide does, without its fine, controlled cut, and the NGA's line is that no abrasive cleaners should be used on mirrors at all. On a mirror they tend to leave a hazy patch that is more noticeable than the original hairline.
WD-40 and Oily Fillers
Oily products can make a fine scratch less visible for a while by filling it, but they leave a film that smears and attracts dust, and the NGA warns that solvents can attack a mirror's edges and backing. Not something I'd put on a bathroom mirror.
Is It Worth Repairing?
For a valuable, framed or antique mirror, a glass specialist can assess whether polishing is safe. For an ordinary bathroom mirror with a deep scratch, replacing the glass is usually cheaper and faster than any repair, and my guide to removing a glued mirror covers taking the old one down.
Scratches in the Backing
A scratch through the paint and silver on the back can't be polished out, because the missing silver is what you're seeing. The options are limited.
Seal It First
If the back is accessible, clean the area and seal it with paint so moisture can't get under the backing and spread the damage, which is how desilvering starts. The NGA warns that liquid reaching a mirror's edges and backing causes "black edge".
Hide It
A backing scratch near an edge can be covered by a frame; my guide to framing a bathroom mirror shows how. Painting the back of the scratch with a mirror-effect spray can soften it, but it won't match the original silver exactly.
Replace It
For a scratch in the middle of the reflection, replacement is the honest answer. A new piece of mirror glass cut to size, or a new mirror, will look better than any patch.
Scratches on Acrylic Mirrors
Acrylic mirrors are plastic, not glass, and their surface is much softer. My acrylic vs glass mirror guide explains the trade-offs.
Use Plastic Polish, Not Glass Products
Light scratches in acrylic can be reduced with a polish made for acrylic and plastics, applied with a soft cloth. Cerium oxide and glass kits are designed for glass and can haze plastic.
Prevent the Next One
Clean acrylic with a soft, damp microfiber cloth only, never paper towels or anything abrasive, and keep rings and jewelry away from the surface when you wipe it.
Sources
- National Glass Association: Proper Procedures for Cleaning Flat Glass Mirrors (FB06-05, 2019) No abrasive cleaners on any mirror surface; warm water and a lint-free cloth; 0000 oil-free steel wool rather than solvents for surface marks; solvents, acids and alkalis damage edges and backing; wet edges cause black edge.
- Wikipedia: Cerium(IV) oxide Valued in the optics industry for polishing, through mechanical abrasion and chemical interaction.
Keep reading: How to clean a mirror without streaks · Mirror desilvering · Acrylic vs glass mirrors · Best bathroom wall mirrors
The MirroRank letter
New mirror picks, sizing and lighting tips from Joan, about once a month.