Mirror guide
How to Antique a Mirror
 By Joan Bardot · Updated 3 sources cited
As an Amazon Associate I earn from qualifying purchases. How I choose products.
On this page
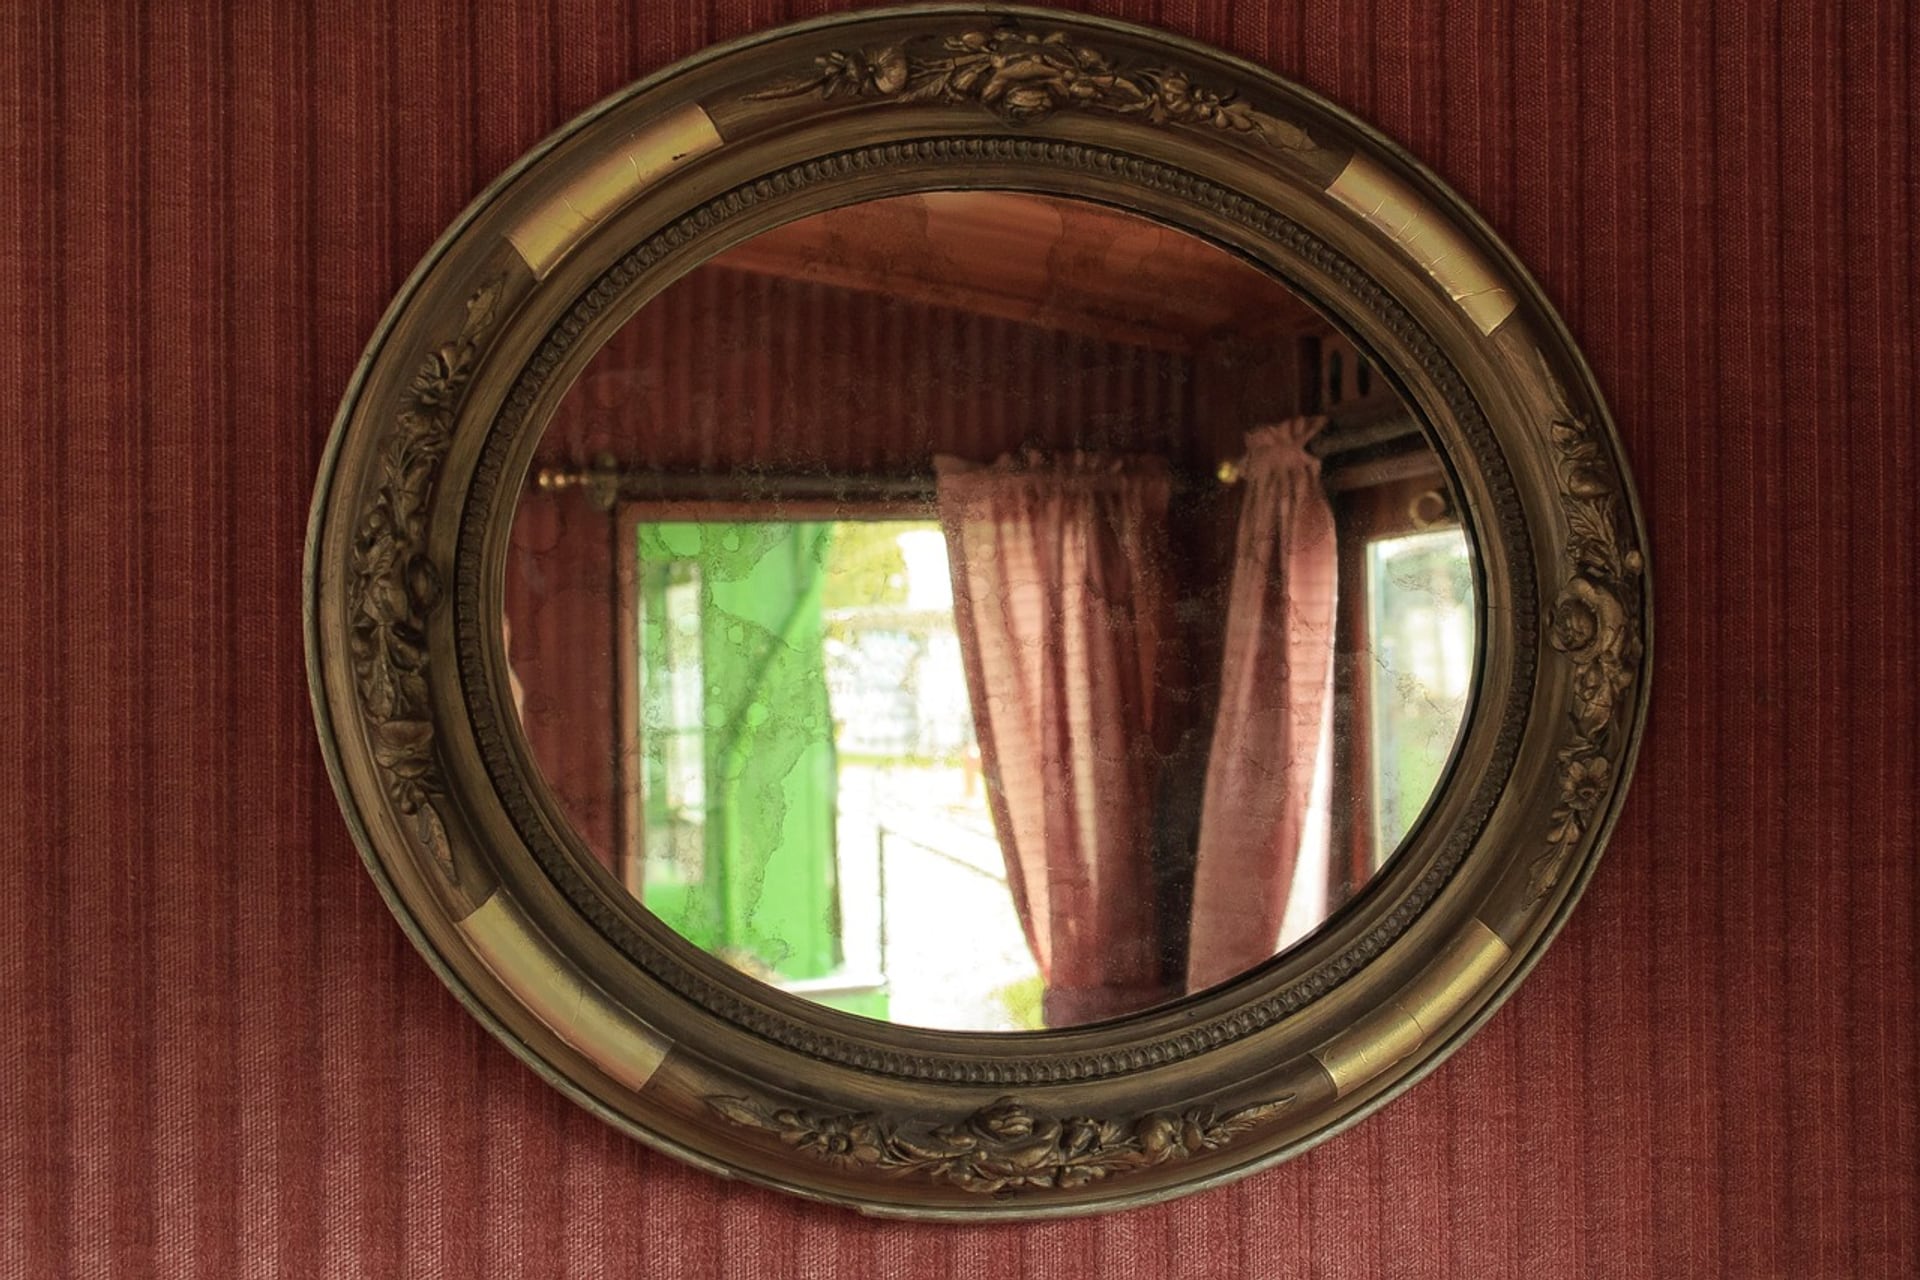
Learning how to antique a mirror means learning to fake, on purpose, the same damage that ruins ordinary mirrors: the grey clouds, dark spots and soft edges that appear when the silver layer behind the glass breaks down. Real old mirrors get that look from decades of moisture and air reaching the silver; my guide to mirror desilvering explains the chemistry. The decorative version is controlled, sealed and much faster.
Below I compare four ways to get the look, walk through the two DIY methods step by step, and cover safety, because one method uses paint stripper. If you would rather buy the look ready-made, my picks for the best decorative mirrors include vintage styles.
Four Ways to Antique a Mirror
| Method | What you start with | Control over the look | Effort | Reversible? |
|---|---|---|---|---|
| Mirror-effect spray on clear glass | Clear glass (a picture frame glass, a cabinet door) | High: you build the spots coat by coat | Low to medium | New piece; the original is untouched |
| Distress a real mirror from the back | An ordinary modern mirror | Medium: chemistry is less predictable | Medium to high, with chemicals | No |
| Antique-mirror effect film or contact paper | Any flat surface | None: the pattern is printed | Low | Yes, peels off |
| Buy antiqued mirror glass | A glass shop order | Choose from samples | Lowest | New piece |
Which One I'd Choose
For a frame, a tray or a cabinet panel, the spray method gives the most convincing result for the least risk. For a large wall panel or a splashback, antiqued glass from a glass shop is worth paying for, because large DIY pieces rarely look even. Film is for furniture fronts and rentals.
Antique Look vs Real Antique
Before you touch an old mirror, check whether it is actually old. Wikipedia's article on silvering notes that European mirrors were commonly backed with a tin-mercury amalgam from the 16th century, before chemical silvering arrived in the 19th. A genuinely old mirror should go to a specialist, not into a DIY project, and an amalgam backing is not something to scrape or strip at home.
Method 1: Make an Antique Mirror From Clear Glass
This method uses a mirror-effect spray paint made for the back of clear glass. Rust-Oleum's technical data sheet for its Mirror Effect spray says to apply it to "the reverse or opposite side of glass", in very thin coats with a minute's drying between them, up to five coats, and notes that the painted side looks dull while the other side shows the mirror finish. The antique look comes from interrupting that finish so it forms spots and haze.
Antiquing clear glass with mirror spray
-
Clean the glass completely
Take the glass out of its frame and clean it with glass cleaner or soap and water, then dry it fully. Rust-Oleum notes that the coating won't hide water spots or imperfections in the glass.
-
Work in the right conditions
Spray outdoors or in a well-ventilated space, between 50 and 90 degrees Fahrenheit and below 65% humidity, as the data sheet advises. Lay the glass flat with the back facing up.
-
Mist the back with water
Lightly mist the back of the glass with water from a spray bottle so droplets sit on the surface. Where the droplets sit, the paint can't bond evenly, which is what creates the spotted, aged look.
-
Apply a very thin coat
Hold the can 10 to 12 inches away and spray a very thin coat in a steady back-and-forth motion. Let it dry for about a minute.
-
Blot and repeat
Gently dab some areas with a paper towel to lift paint and open up clear patches, then mist and spray again. Build up to five thin coats, checking the front each time, and stop when you like the balance of mirror and haze.
-
Back it
Once dry, spray the back with a matte clear coat, as Rust-Oleum suggests for extra protection, or a flat black or bronze paint if you want the clear patches to read dark and smoky rather than see-through. Refit the glass with the painted side facing in.
Getting a Convincing Look
Real old mirrors age most at the edges and corners, where moisture gets in first, so concentrate the spots and haze there and keep the center clearer. Use a gold or bronze backing paint behind the clear patches for a warm vintage tone, or black for a cooler, smoky one. A heavier, ornate frame does a lot of the work; see the frames in my decorative mirrors guide for styles that suit an aged finish.
Where It Works Best
Glass in a picture frame, a cabinet door insert, a tray or a small wall panel. The data sheet lists glass vases, candleholders, framed glass, jars and tabletops, and says the product is for interior surfaces only, so keep it out of the weather.
Method 2: Distress an Existing Mirror From the Back
This is the method behind most "antique a real mirror" tutorials. It works because the silver layer on a modern mirror is protected only by its backing paint, and once that paint is gone, the silver can be attacked. The National Glass Association's mirror care bulletin (FB06-05) warns that acid or alkali cleaners can attack a mirror's backing and that solvents can damage its edges and backing: here, that damage is the point.
Distressing a mirror from the back
-
Choose the right mirror
Use a modern, inexpensive mirror you're happy to sacrifice, with no safety film on the back. Take it out of its frame and lay it face down on a padded, protected surface outdoors.
-
Strip the backing paint
Apply a paint stripper to the back, following the label for dwell time, gloves and ventilation, then scrape the softened paint away gently with a plastic scraper. Stripping only some areas gives a more natural, uneven result.
-
Distress the silver in patches
With the silver exposed, dab a mild acid such as household vinegar on the areas you want to age, working from the edges in, and wipe it off as soon as you see the effect. Rinse and dry. Go slowly: you can always do more, but you can't put silver back.
-
Seal the back again
When you like the look, dry the glass completely and repaint the whole back, so the rest of the silver is protected. Black or bronze paint behind the cleared patches gives a deeper, older look.
Antiquing a Mirror From the Front?
It can't really be done. The reflective layer is behind the glass, so anything you put on the front sits on top of the reflection and looks like paint or dirt. The only front-side options are a film or a glaze that you accept will look applied.
Why Results Vary
Modern mirrors differ in their backing paints and in whether a copper layer protects the silver, which Wikipedia notes is common for durability. That is why one mirror distresses in minutes and another barely changes: test on a corner first.
Methods 3 and 4: Film or Ready-Made Antique Glass
Antique-Mirror Effect Film
Peel-and-stick films and contact papers printed with a foxed, silver-spotted finish give the look on furniture fronts, panels and drawer faces. They don't reflect like real mirror, but they cost little, cut with scissors and peel off later.
Antiqued Mirror Glass
Glass shops sell antiqued mirror glass made to order, in tints from silver to bronze and smoky grey. For a large wall panel, a splashback or a set of matching cabinet doors, it's the only way to get an even, durable result, and the shop can cut it to size. If you're fitting it as a panel, my guide to hanging a heavy mirror covers the hardware.
Aging the Frame
Often the frame matters more than the glass. A gilt frame rubbed back at the high points, or a painted frame distressed at the corners, makes even a plain mirror look older. My guide to framing a mirror covers adding a frame to a plain one.
What You Need
Supplies for the spray and back-distressing methods, plus a film for the no-glass route.
-
1Mirror spray
Rust-Oleum Mirror Silver Spray Paint
Mirror-effect spray applied to the back of clear glass in thin coats, the basis of method 1.
-
2Paint stripper
Citristrip Stripping Gel, 40 oz
A stripping gel for removing the backing paint in method 2; follow the label for ventilation and dwell time.
-
3Gloves
ThxToms Chemical Resistant Nitrile Gloves
Chemical-resistant gloves for handling stripper and the wet, sharp-edged glass.
-
4Effect film
LiveInUrban Foxed Silver Peel and Stick Paper
Peel-and-stick contact paper printed with a foxed, silver-spotted antique mirror look, for furniture and panels.


Sources
- Rust-Oleum: Mirror Effect technical data sheet (SPC-105) Apply to the reverse side of clean glass, very thin coats, up to five, conditions of temperature and humidity, matte clear for protection, interior use, suggested uses.
- National Glass Association: Proper Procedures for Cleaning Flat Glass Mirrors (FB06-05, 2019) Acid and alkali cleaners attack the backing; solvents damage edges and backing.
- Wikipedia: Silvering Back-silvered household mirrors, protective paint and copper layers, tin-mercury amalgam mirrors from the 16th century.
Keep reading: Mirror desilvering · How to frame a mirror · Best decorative mirrors · Best floor mirrors
The MirroRank letter
New mirror picks, sizing and lighting tips from Joan, about once a month.