Mirror guide
How to Frame a Bathroom Mirror
 By Joan Bardot · Updated 2 sources cited
As an Amazon Associate I earn from qualifying purchases. How I choose products.
On this page
Knowing how to frame a bathroom mirror is the cheapest way I know to change a bathroom. The plain, frameless mirror that builders glue over a vanity does its job, but it always looks unfinished. A frame makes it look intentional, and it can hide the edges if they've started to darken. You don't need to take the mirror down: the frame sits on the face of the glass, around its edges.
Below I compare the three ways to do it, explain how to deal with mirror clips, give a worked cut list, and go through the adhesive and moisture details that decide whether the frame lasts. If your mirror is past saving, my picks for the best bathroom wall mirrors and the best cheap bathroom mirrors include plenty that come framed.
Three Ways to Frame a Bathroom Mirror
| Method | How it works | Skill and tools | Best for |
|---|---|---|---|
| Frame kit | Pre-finished frame pieces cut to your mirror's size, stuck to the glass | Low: measure, peel, press | Renters, a quick clean result, metal or painted looks |
| DIY trim on the glass | Wood or PVC moulding mitered at the corners and glued to the face of the mirror | Medium: miter cuts, filling, painting | Most builder mirrors, any color or profile |
| Built frame around the mirror | A frame fixed to the wall around the mirror, overlapping its edge, or the mirror removed and reframed | Higher: carpentry and wall fixings | Chunky rustic frames, mirrors already damaged at the edges |
Method 1: A Frame Kit
Frame kits are made to the size you order, finished in paint, wood tones or metal effects, and fix to the face of the glass. They're the closest thing to a no-mess job. Measure the mirror carefully, including where any clips sit, and order to the exact dimensions.
Method 2: DIY Trim Glued to the Glass
This is the route I'd take for most people. You buy a length of moulding, cut four pieces with 45 degree miters, paint or seal them, and glue them to the face of the mirror so the inner edge overlaps the glass slightly. It costs less than a kit and you choose any profile and color.
Method 3: A Built Frame
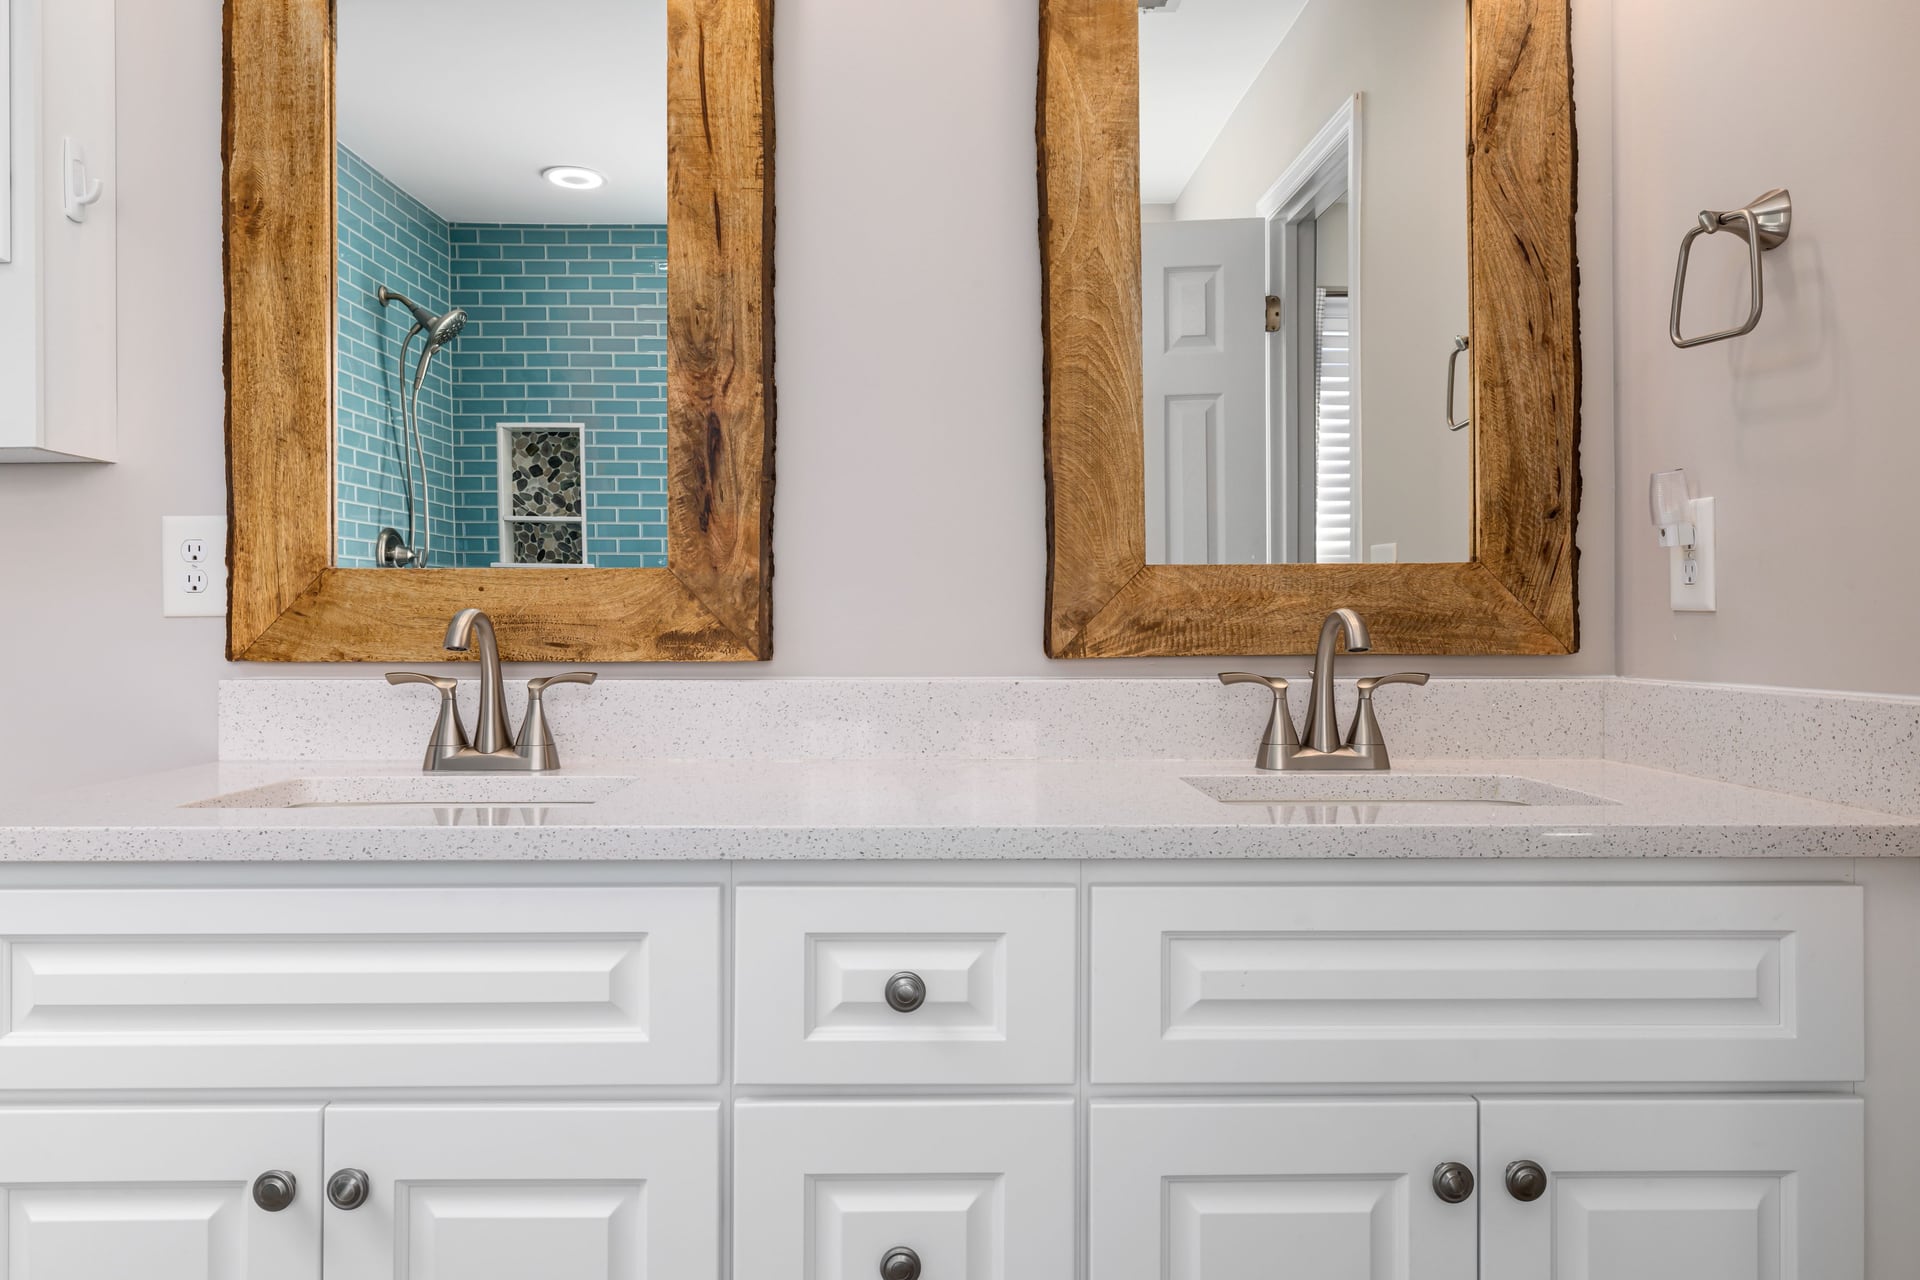
A thick rustic frame like the ones in the photo above is usually built as a separate frame and fixed to the wall around the mirror, or the mirror is taken down and refitted inside it. That's a bigger job, but it is the best answer when the mirror's edges are already damaged, because the frame covers more of the glass. My guide to removing a mirror glued to the wall covers the taking-down part.
Before You Start: Measure and Check the Mirror
Check the Edges for Black Spots
Look closely at the edges. Dark bands or spots at the edge are desilvering, corrosion of the reflective layer behind the glass. A frame wide enough to cover them is a good fix, but make sure the edges are clean and dry before anything goes over them. My guide to mirror desilvering explains why it happens.
Find the Clips
Many builder mirrors sit on plastic or metal clips at the bottom edge, sometimes at the top too, with the mirror glued behind. The clips stick out a few millimeters from the face of the glass, so a frame laid straight over them won't sit flat. You have two options, covered in the steps below.
Measure for the Cut List
Measure the width and height of the glass, and decide how much the frame should overlap it. An overlap of about half an inch on each side hides the edge and leaves enough contact for the adhesive. If you're not sure the mirror is the right size for the vanity in the first place, my bathroom mirror size chart and the guide to vanity mirror height are worth a look first.
A Worked Cut List: 36 x 30 Inch Mirror
Here is the math for a common builder mirror, 36 inches wide and 30 inches tall, with 2.5 inch wide trim overlapping the glass by half an inch all round. Each piece is cut with 45 degree miters, and the measurements are to the long point of the miter.
| Piece | Calculation | Long-point length | Quantity |
|---|---|---|---|
| Top and bottom | 36 + 2 x (2.5 - 0.5) | 40 in | 2 |
| Sides | 30 + 2 x (2.5 - 0.5) | 34 in | 2 |
| Total moulding | 2 x 40 + 2 x 34 | 148 in (about 12.3 ft) | Buy two 8 ft lengths |
| Visible opening | 36 - 1 by 30 - 1 | 35 x 29 in |
The rule for any mirror: long-point length = glass length + 2 x (trim width - overlap). Always buy at least one extra length: a bad miter is the most common mistake, and two 8 foot lengths leave enough spare here for one recut.
What You Need
Tools and supplies for the DIY trim method, plus a ready-made kit if you'd rather skip the cutting.
-
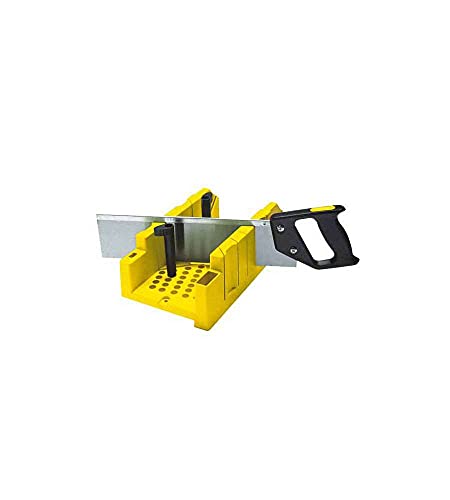
1Miter box
Stanley Saw Storage Miter Box with Saw
A miter box with its own backsaw for clean 45 degree corners on trim, without a power saw.
-
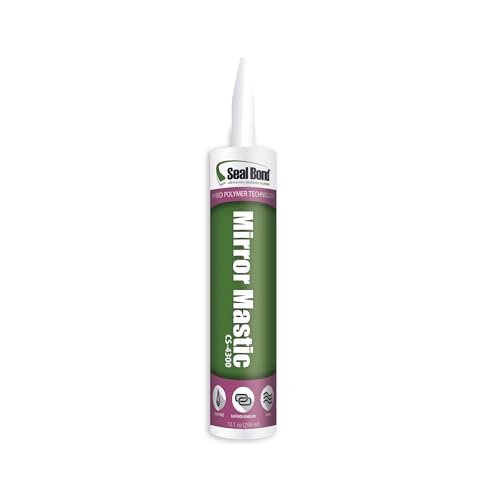
2Mirror adhesive
Seal Bond CS-4300 Mirror Adhesive
An adhesive sold specifically for mirrors, low odor, for bonding the trim to the glass.
-
3Painter's tape
Duck Clean Release Painter's Tape
To hold each piece in place while the adhesive cures, and to mask the glass when you paint or caulk.
-
4Paintable caulk
GE Supreme Paintable Silicone Caulk, Kitchen and Bath
A paintable kitchen and bath caulk for the outer joint between frame and wall and for filling the miters.
-
5Frame kit
Frame My Mirror Add A Frame, Custom Size
A custom-size frame kit for the no-cutting route, made to the dimensions you order.


How to Frame a Bathroom Mirror With Trim, Step by Step
These steps are for the DIY trim method, with the mirror left on the wall.
Framing a mirror with moulding
-
Choose a trim that suits a bathroom
Pick a flat-backed moulding so it sits flush on the glass. PVC or polyurethane trim doesn't absorb water; wood looks warmer but must be sealed on every face, including the back and the cut ends, before it goes up.
-
Cut the miters
Cut the four pieces to your long-point lengths with 45 degree miters, using a miter box or miter saw. Dry-fit them on the glass with painter's tape before any glue goes on.
-
Deal with the clips
Mark where the clips sit on the back of the trim and cut a shallow notch so the trim sits over them. If the mirror is fully glued to the wall, some people replace the bottom clips with a small ledge instead; never remove clips that are holding the mirror up.
-
Paint or finish before fitting
Prime and paint, or seal, every face of the trim and let it dry fully. It is much easier than painting on the wall, and it keeps the glass clean.
-
Glue the pieces to the glass
Clean the glass where the trim will sit and let it dry. Apply mirror-safe adhesive to the back of the trim, keeping it away from the outer edge so it can't squeeze onto the mirror's edge. Press each piece into place, bottom first, and tape it while it cures.
-
Fill and caulk
Fill the miter joints, then run a thin line of paintable caulk where the frame meets the wall, not into the mirror's edge. Touch up the paint once it's dry.
The Right Adhesive for a Mirror Frame
The adhesive is the detail that decides whether the frame quietly damages the mirror.
Why the Wrong Glue Can Harm a Mirror
A mirror's reflective silver layer sits behind the glass under protective paint, and it is sensitive to chemicals. That is why adhesive makers sell mirror-specific products. Everbuild's data sheet for its Mirror Mate adhesive, for example, describes it as a solvent-free MS polymer whose "totally neutral curing system will not attack the mirror backing", and says not to use it on polyethylene safety-backed mirrors. Whatever you buy, look for the same claim on the label: made for mirrors, safe for the backing.
How Much Adhesive and How Long
The same data sheet gives a skin time of about 10 minutes and full cure in 24 to 48 hours, and says to provide temporary support with tape until it has dried. For a frame, a thin bead along the middle of each piece of trim is plenty: you want it well clear of the glass edge.
Keep the Edges Dry
The National Glass Association's mirror care bulletin (FB06-05) warns that getting the edges of a mirror wet causes "black edge", and advises drying them immediately. It also says adhesives used nearby should be fully cured before mirrors are installed. For a frame, that means no caulk or glue squeezed into the edge, and a frame that sheds water rather than trapping it at the bottom.
Finishing for a Humid Bathroom
Seal Every Face
Wood swells when it takes up moisture, and a bathroom gives it plenty of chances. Sealing the back and the cut ends matters as much as the visible face, because that's where water gets in.
Paint and Color
A semi-gloss or satin paint wipes clean. Matching the frame to the vanity or the faucets ties the room together: black frames with black fixtures, wood tones with a wood vanity, brushed metal kits with nickel taps.
Keep It Clean
Once the frame is up, clean the glass with warm water on a well-wrung cloth and keep spray cleaners off the frame and edges. My guide to cleaning a mirror without streaks has the routine.
Sources
- Everbuild (Sika): Mirror Mate product data sheet (2018) Solvent-free MS polymer mirror adhesive, neutral cure that will not attack the backing, skin time, cure time, temporary support, not for polyethylene safety-backed mirrors.
- National Glass Association: Proper Procedures for Cleaning Flat Glass Mirrors (FB06-05, 2019) Wet edges cause black edge; adhesives cured before mirror installation.
Keep reading: Mirror desilvering · Bathroom mirror size · Best bathroom wall mirrors · Best decorative mirrors
The MirroRank letter
New mirror picks, sizing and lighting tips from Joan, about once a month.