Mirror guide
How to Replace a Vanity Mirror
 By Joan Bardot · Updated 2 sources cited
As an Amazon Associate I earn from qualifying purchases. How I choose products.
On this page
Knowing how to replace a vanity mirror mostly comes down to the part nobody sees: what is holding the old one to the wall. Builder-grade bathroom mirrors are usually plain frameless sheets, and the way they were fixed decides whether the swap takes an hour or a weekend with a drywall repair at the end.
Below I go through how vanity mirrors are attached, how to take the old one down without hurting yourself or the wall, how to repair the wall, how to choose a replacement that suits the vanity, and how to hang it. The detailed removal methods for a glued mirror live in my guide to removing a mirror glued to the wall, so here I keep that part short and point you there when you need it.
How Is Your Vanity Mirror Attached?
Do this check before you buy anything. Lowe's guide to removing a bathroom mirror describes the standard builder mirror, also called a contractor mirror, as a large, ordinary rectangle with no frame, held to the wall with clips and glue. That fits most bathrooms I'd expect you to be looking at, but yours may use only one of the three fixings below.
Clips
Look at the top and bottom edges of the mirror. Small metal or plastic clips screwed into the wall, with a lip that overlaps the glass, mean the clips are carrying the mirror. Lowe's says to unscrew and remove the clips before you start prying, because the clips can hold the glass even when it looks loose. Check behind the glass for adhesive as well, since clips and glue are often used together.
J-Channel
A thin metal strip running along the bottom edge, with the mirror sitting in it, is a J-channel. The channel carries the weight and is often paired with clips at the top. Once the top clips are out, the mirror lifts up and out of the channel, but it is heavy and slippery, so a helper should be holding it throughout.
Glued On
No clips, or clips and the mirror still won't budge: it is glued. This is the case that makes the job slow and the wall messy. I cover it in full in my guide to removing a glued mirror, including the wire and heat methods, so if that is what you have, read that guide first and then come back for the repair and replacement steps.
| Fixing | How to spot it | Effort |
|---|---|---|
| Clips only | Visible clips on two or more edges | Low: unscrew and lift |
| J-channel | Metal strip under the bottom edge | Low to medium: needs a helper |
| Glued on | No clips, or clips and the mirror still won't move | High: cut or soften the glue, then repair the wall |
Taking the Old Mirror Down
Once you know the fixing, the principle is the same for all three: stop the glass from falling, release the fixing slowly, and never pull the mirror off from one point. The steps below follow the order in Lowe's guide, and my glued-mirror guide has the longer versions of each.
Removing the old mirror in five steps
-
Protect yourself and the room
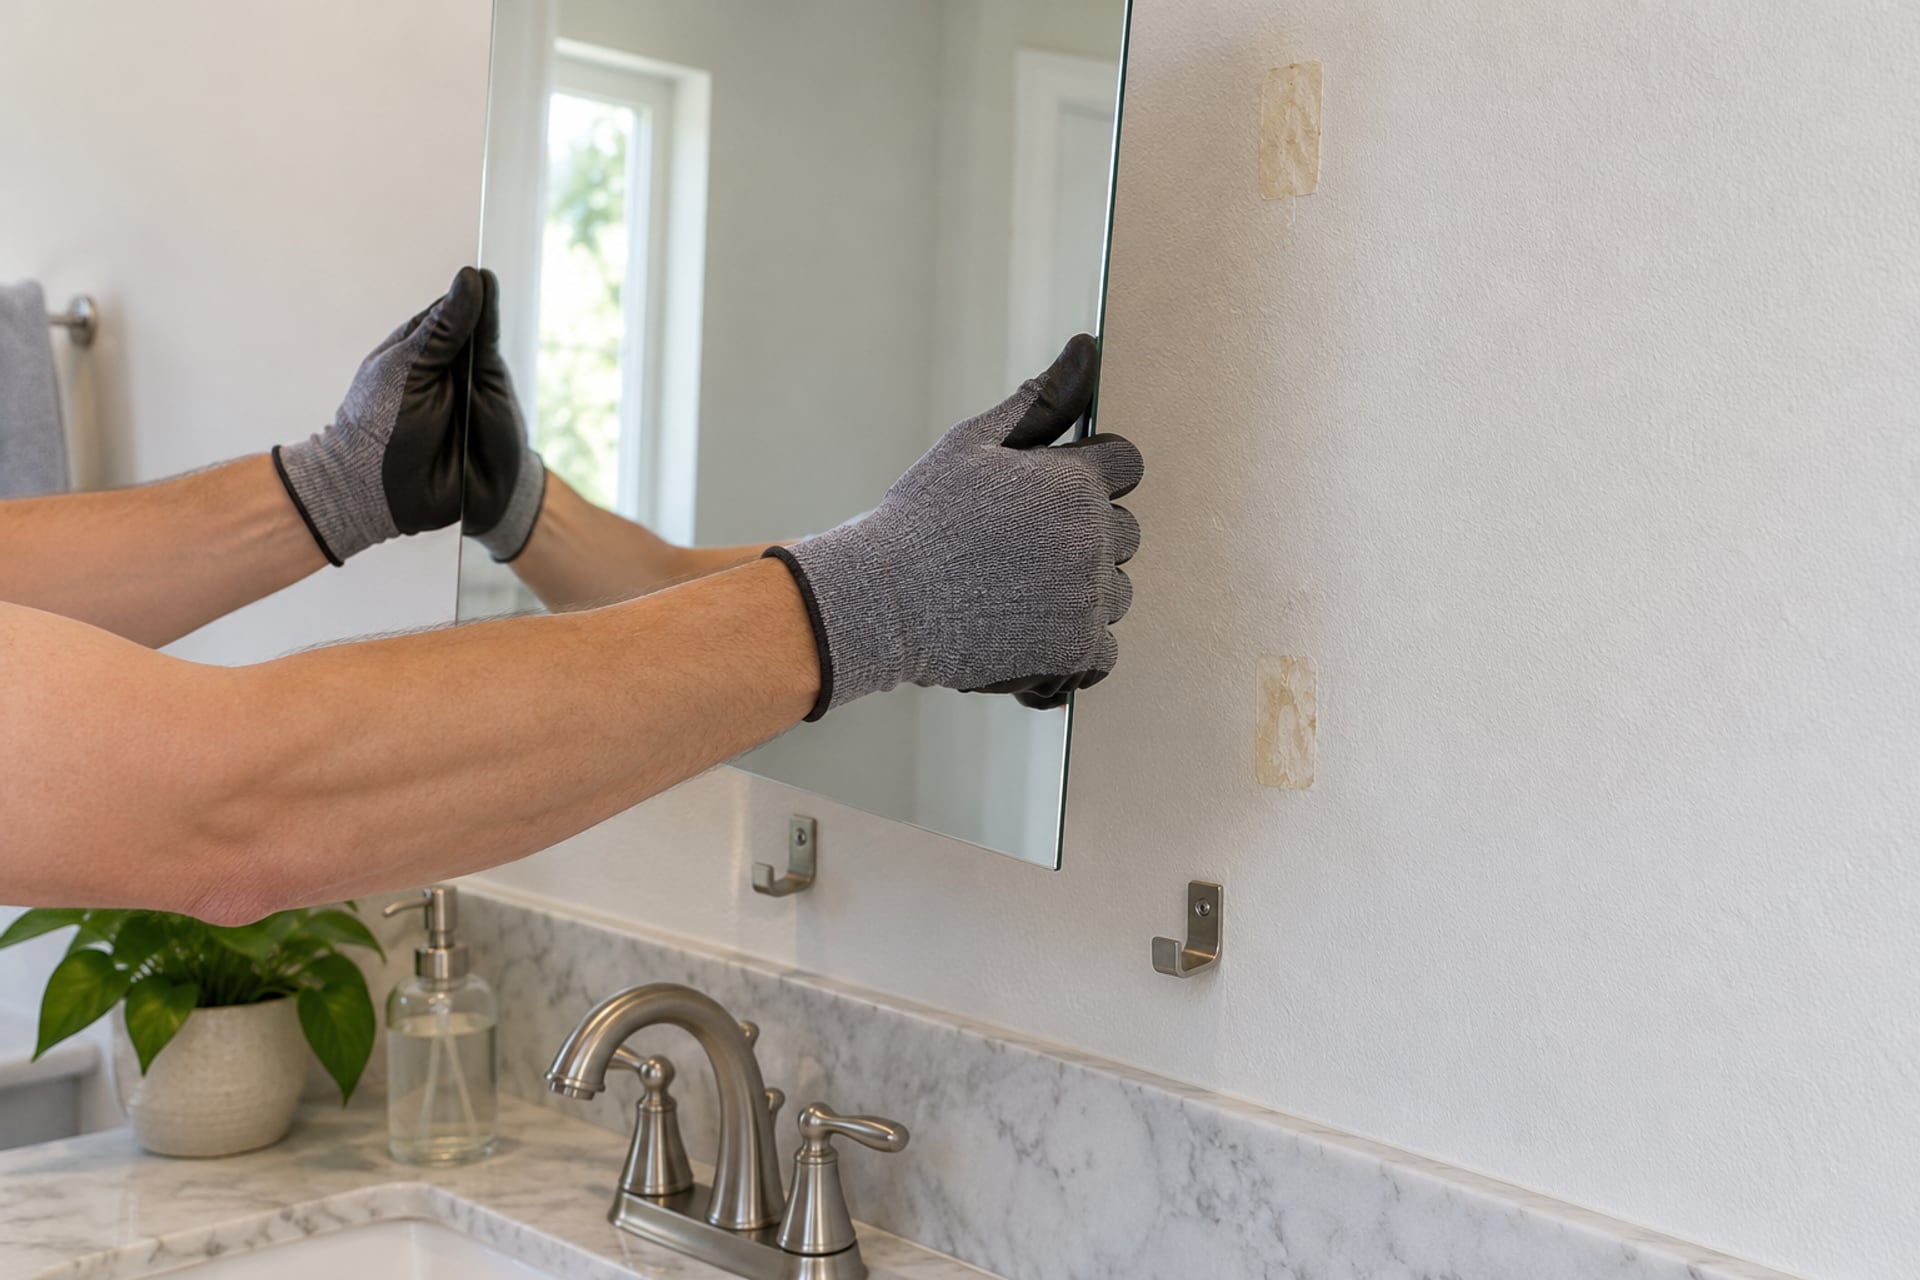
Lowe's advises gloves, eye protection and at least one helper whenever you pry a mirror loose and carry it out, because a dropped mirror can cause severe cuts. Lay a drop cloth under it and cover the vanity top and sink.
-
Tape the face
Cover the whole mirror with heavy-duty packing tape in overlapping strips. If the glass cracks, the pieces stay on the tape.
-
Take out the clips
Unscrew any clips and, on a J-channel mirror, the top clips. If the mirror then moves, tilt it forward and lift it clear while your helper supports it.
-
Open the gap and soften any glue
If it is glued, Lowe's suggests wooden shims and gentle prying, with a hair dryer or heat gun to loosen the adhesive and a handheld steamer once the mirror starts to lift. A putty knife or taping knife helps spread the load.
-
Support it and carry it out
Keep flat, gloved hands on the glass as the last of the fixing lets go, then carry the mirror out of the bathroom and stand it on edge on a blanket against a wall.
What You Need
The safety gear is the same whichever fixing you find. The cutting tools for glued mirrors are listed in the glued-mirror guide.
-
1Gloves
Klein Tools A4 Cut-Resistant Gloves, 2 Pairs
Cut-resistant gloves for you and your helper, one pair to hold the glass and one to handle the tape and clips.
-
2Eye protection
ANSI Z87 certified wraparound safety glasses, worn from the first screw to the final sweep.
-
3Wide knife
MARSHALLTOWN 6 in DuraSoft Taping Knife
A flexible 6 inch blade for easing behind the glass, scraping adhesive off the wall and later feathering the patch.



Fixing the Wall Before the New Mirror
Lowe's puts it simply: mirrors should go on a smooth wall and sit flush, so the wall needs to be ready before the new one goes up. Expect some damage even if the removal went well, because mirror glue bonds to the paper face of the drywall and takes some of it with it.
Adhesive Residue
Scrape off what is left with a putty knife. Lowe's repair steps start there, then score a circle through the drywall paper only around each damaged patch with a utility knife and peel off the loose paper inside it. That removes glue and paper that has already let go, and it helps the patch blend into the wall. Warming stubborn glue with a hair dryer before scraping makes it easier.
Patching
Sand around the scored area, then fill it with lightweight spackling compound and let it dry. Sand it smooth. If the surface still shows a ridge when you look along the wall with a light held low, add a thin second coat and sand again. A wide blade, like the taping knife in the kit above, spreads the compound more evenly than a small putty knife.
Painting Behind
Prime the patched areas with latex primer, which is on Lowe's materials list for this job, then paint the whole area the new mirror will cover, not just the patches. The paint around a frameless mirror often shows at the edges, and a mismatch is obvious. The National Glass Association's mirror bulletin, FB06-05, says mirrors should be the last materials installed and that sprayed wall texture and wall-covering adhesives should be fully cured first. Paint isn't named, but I'd apply the same caution: let it dry completely before the mirror goes up.
Choosing the Replacement
This is where most people either repeat the builder's choice or go too big. The wall and the vanity should decide, not the size of the old mirror.
Size
Measure the vanity width and work down from it. My bathroom mirror size guide explains the margin I use on each side, and the calculator below does the arithmetic for you.
Calculator
What size mirror for your vanity?
Rule used: leave 2 to 4 inches of wall on each side of the mirror (ideal 3), bottom edge about 6 inches above the counter, centre near 60 inches. Designer guidelines, not building code. For an accessible bathroom, the 2010 ADA Standards put the bottom of the reflecting surface at 40 inches maximum.
Height
Mounting height depends on who uses the mirror and what sits beside and above it, such as sconces or a light bar. My guide to standard vanity mirror height covers where the bottom edge and the centre usually go. Mark the position on the wall with painter's tape before you commit.
Framed or Frameless
A frameless mirror looks like the one you are removing and suits a plain, modern wall, but it needs clips, a channel or adhesive to hold it. A framed mirror hides the wall edge, which helps if your patching is less than perfect, and usually arrives with its hanging hardware attached. If you like your current frameless mirror and want more presence, my guide to framing a bathroom mirror shows how to add a frame yourself. For ready-made options, see my picks for the best bathroom wall mirrors.
LED and Lighted Mirrors
Swapping a plain mirror for a lighted one adds a power question, plug-in or hardwired, which changes where the cable comes out of the wall and whether you need an electrician. My LED bathroom mirror installation guide goes through both, and the best LED bathroom mirrors roundup helps you choose one.
Medicine Cabinet Instead of a Mirror
A medicine cabinet with a mirrored door can take the place of a plain mirror and adds storage, but a recessed one needs an opening cut into the wall, and a surface-mount one needs room around it. Before you buy one, read how to measure a medicine cabinet.
Hanging the New Mirror
Match the method to the type. Whichever you choose, find the studs first and put the weight on them where you can; my guide to hanging a heavy mirror covers hardware ratings, anchors and the math behind them.
Framed Mirrors: D-Rings or a Cleat
Many framed mirrors come with D-rings and wire, but the wire makes the mirror hard to level and lets it tilt when someone bumps it. For a bathroom, where the mirror is touched and cleaned often, I'd rather use two D-rings with screws into studs, or a French cleat, which locks the frame flat to the wall. Use the hardware rated for the mirror's weight, as stated by its maker.
Frameless Mirrors: Clips
A frameless mirror usually hangs on a pair of bottom clips or a J-channel plus top clips, sold with the mirror or separately. Fix the bottom clips to the wall first, check them with a level, set the mirror into them, then fit the top clips so they overlap the glass without pinching it. Don't over-tighten the screws, because tight clips can chip the glass edge.
One more point from the NGA bulletin: keep the mirror edges dry. It warns that wet edges can cause what it calls black edge, the dark creeping damage along the border of a mirror. Wipe splashes off the edge as you finish and wipe the mirror with a barely damp cloth, never spraying cleaner straight onto the glass.
Can a Vanity Mirror Be Replaced Without Replacing the Vanity?
Yes. The mirror is fixed to the wall, not to the vanity, so you can swap it without touching the cabinet or the top. Protect the countertop and sink first: cover them with a blanket or cardboard before you start, because a dropped mirror or a falling clip can chip stone or crack a basin.
The one case where the two are linked is when the mirror, the light and the vanity top were installed as a single unit, or the mirror sits tight against a backsplash. In that case, measure the gap you will leave once the old mirror is out. If the new mirror is smaller than the old one, the paint or tile that was hidden will show around it, and you may need to patch a larger area than you expected.
If there is a light fixture or an outlet behind or beside the mirror, switch off the circuit at the panel before you go near it.
When to Call a Glazier
A glazier has the suction lifters and the practice to take a big mirror off in one piece and to take the old glass away. I'd pay for one if:
- the mirror runs the full width of a double vanity or is too big for two people to hold comfortably;
- the glass is already cracked and the glue is hard;
- the mirror hangs over a stone counter you can't risk damaging;
- you can't tell what is holding it and don't want to find out the hard way.
If you pay for the removal, you can still do the wall repair and the hanging yourself, which is the cheaper half of the job.
Sources
- Lowe's: How to Remove a Bathroom Mirror Contractor mirrors held by clips and glue, safety gear and a helper, taping the glass, shims, heat and steam, the drywall repair sequence and the tools and materials list.
- National Glass Association: FB06-05, Proper Procedures for Cleaning Flat Glass Mirrors (2019) Keeping mirror edges dry to avoid black edge, installing mirrors last and letting wall finishes cure first, and cleaning with warm water and a lint-free cloth.
Keep reading: Remove a glued mirror · Bathroom mirror size · How to hang a heavy mirror · Best bathroom wall mirrors · Install an LED bathroom mirror
The MirroRank letter
New mirror picks, sizing and lighting tips from Joan, about once a month.